Firmware updates for SFC-60 V1 & SFC-101, teensy-based legacy products
You will need this extra library to compile the firmware : http://bildr.org/2011/08/74hc595-breakout-arduino/
SFC-60 firmware:
Latest version, V11: SFC_60_RevA_V1_11
Previous version, V10: SFC_60_RevA_V1_10
SFC-101 firmware:
How-to update the firmware
To update your MIDI controller, you will have to set-up the Arduino IDE programming environment. Please note that the MIDI device name of your controller will change after updating the firmware but I’ll show how to put it back at the end of the tutorial.
Step 1 : Download and install the Arduino IDE (only versions 1.0.6/1.6.1/1.6.3/1.6.4.) : http://www.arduino.cc/en/Main/Software
Step 2 : Download and install the Teensyduino add-on : https://www.pjrc.com/teensy/td_download.html
Step 3 : Download the Shifter Arduino library : http://code.bildr.org/download/944.zip
and use this guide to install it : http://www.arduino.cc/en/Guide/Libraries
Step 4 (optional) : We can change the USB-MIDI device name and overwrite the Teensy default value.
On Mac: Right click the Arduino application, click “Show package contents” and locate this file :
Applications/Arduino.app/Contents/Resources/Java/hardware/teensy/avr/cores/teensy3/usb_desc.h
Locate this section:
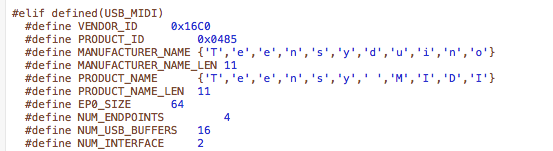
and rename “Teensy MIDI” with the name of your device (SFC-60 or SFC-101). Change every character between the apostrophes.
Save the file and close it.
ATTENTION : This need to happen before you compile the firmware (see below) and the Arduino IDE MUST BE CLOSED/NOT RUNNING. Please note your computer MIDI buffer might keep the old name in memory… this is build in the OS and there is much we can do. But you can be sure that the new name is uploaded if you follow my instructions.
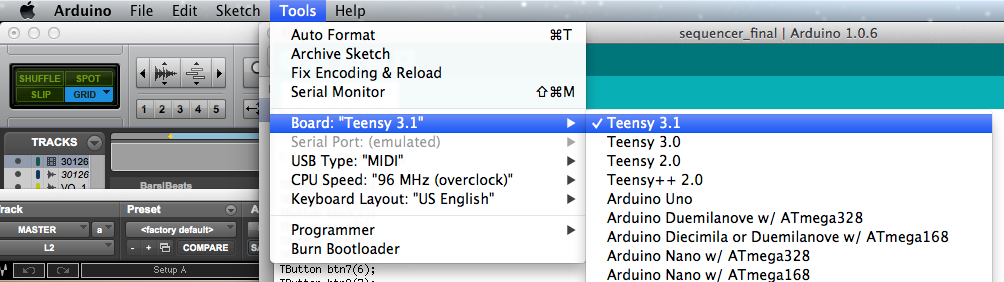
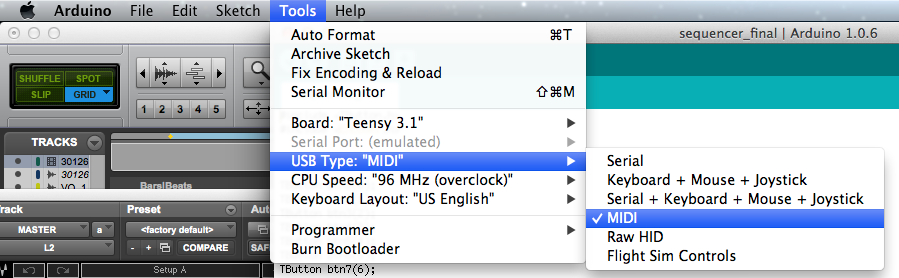
Step 5 : Start Arduino and select the right board and usb type :
Step 6 : Download and unzip the latest firmware version (see below)
Step 7 : Open the .ino file in the Arduino IDE
Step 8 : Plug your MIDI controller or Teensy in your computer
Step 9 : Go to Sketch -> Verify/Compile
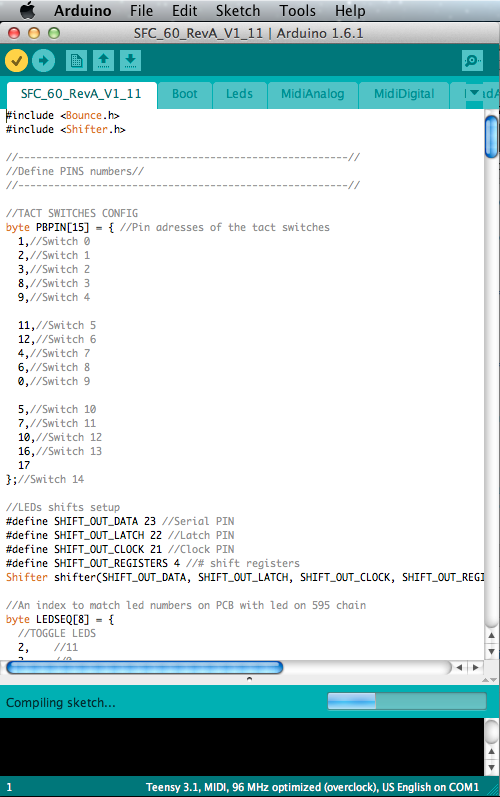
Step 10 : The code should compiled correctly and display “Done compiling”.
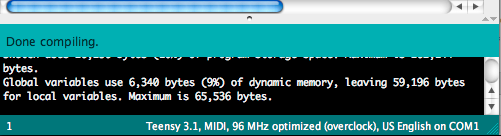
If not, you probably have the wrong board/USB type settings, wrong Arduino IDE version or you forgot to install the shifter library.
Step 11 : Go to File -> Upload to upload the code to the Teensy board :
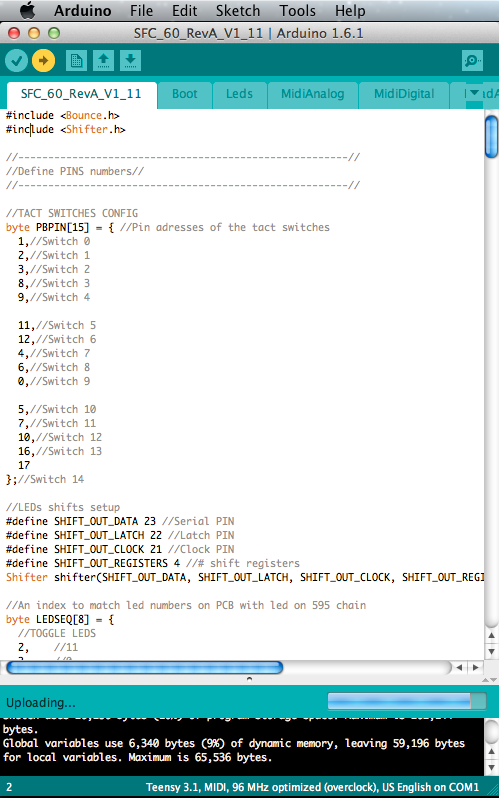
Step 12 : The controller will reboot (Leds go off and back on) and you’re good to go!